Office365
Introduction#
Office 365 is a cloud-based, subscription model version of Microsoft Office. Office 365 contains the same core applications as traditional versions of Office, including Word, Excel, PowerPoint, Outlook, OneNote, and, depending on the plan purchased, may also include other apps and services such as Publisher, Planner, OneDrive, Exchange, SharePoint, Access, Skype, Yammer, and Microsoft Teams.
Multi-Factor Authentication (MFA) is an extra layer of security used when logging into websites or apps. Individuals are authenticated through more than one required validation procedure that only they know or have access to.
Acceptto SSO-MFA for Office 365 enables strong authentication and secure access via SAML protocol to your Azure and Office 365 tenant.
Pre-Requisites#
An Acceptto account with a configured Identity Provider and LDAP Agent. (See this page for the instructions)
A user with administrative privileges for the Acceptto services.
An organization identifier provided by Acceptto (organization slug).
A Microsoft™ Azure Active Directory tenant with custom domain configuration.
An Azure Active Directory tenant administrator account.
Acceptto acts as an identity provider (IdP) for Office 365 and authenticates users against your existing on-premises Active Directory credentials. On the other hand, Office 365 uses Azure AD as its identity store. Then, on-premises AD users should be synchronized to Azure AD through Azure AD Connect application. In addition, all the Azure AD users that will be authenticated via Acceptto SAML must have an immutableID set. To identify which users may not have an immutableID set run the following PowerShell™ command (Make sure you have the MSOnline PowerShell module installed via “Install-Module -Name MSOnline” and connect to your Azure instance via “Connect-MsolService” command):
Get-MsolUser -All | Select-Object UserprincipalName,ImmutableID UserPrincipalName ImmutableId----------------- -----------User1@example.com 123ABC45-67EF-90GH-12IJ-34KL56MN7890PUser2@example.comMake sure you have the latest WMF (Windows management framework) installed. You can check the version of your PowerShell with this command:
Get-Host | Select-Object VersionUsers that do not show an ImmutableID such as User2@example.com, will not be able to login using SAML. To change the ImmutableID for specific users, run the following PowerShell command (replace UserPrincipalName with the affected user UserPrincipalName, e.g., User2@example.com):
$guid = New-GuidSet-MSOLUser -UserPrincipalName UserPrincipalname -ImmutableID $guid
Acceptto SAML Configuration as Identity Provider (IdP)#
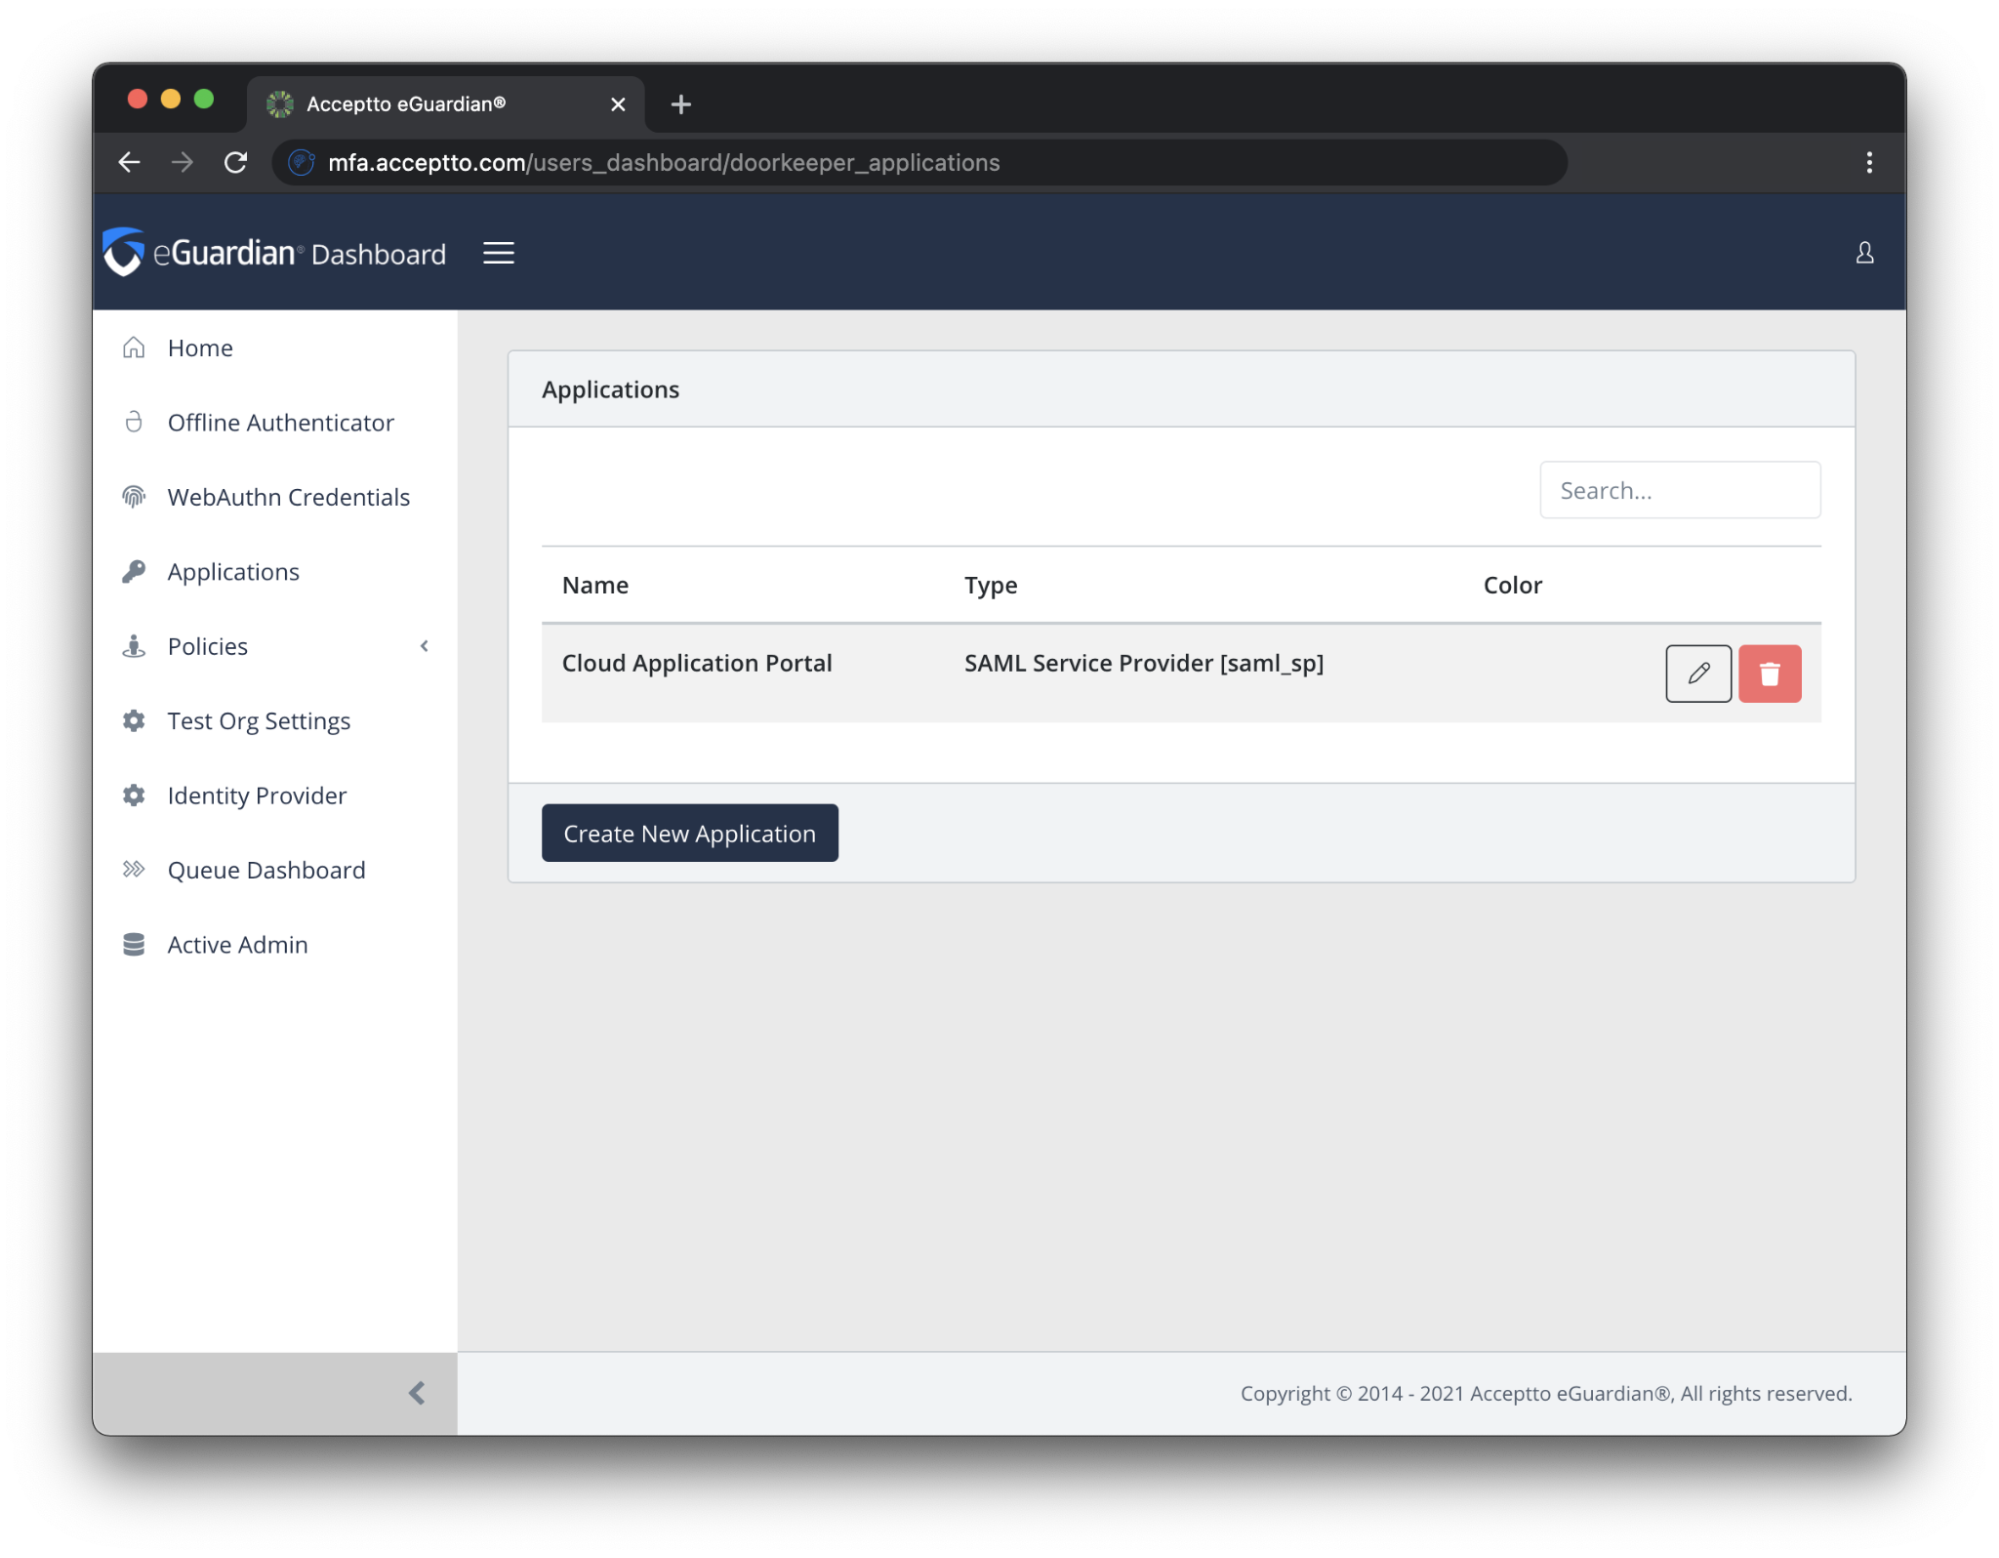
Login to the Acceptto Dashboard with an administrative account and go to Applications.
Create a new application by selecting the Create New Application.
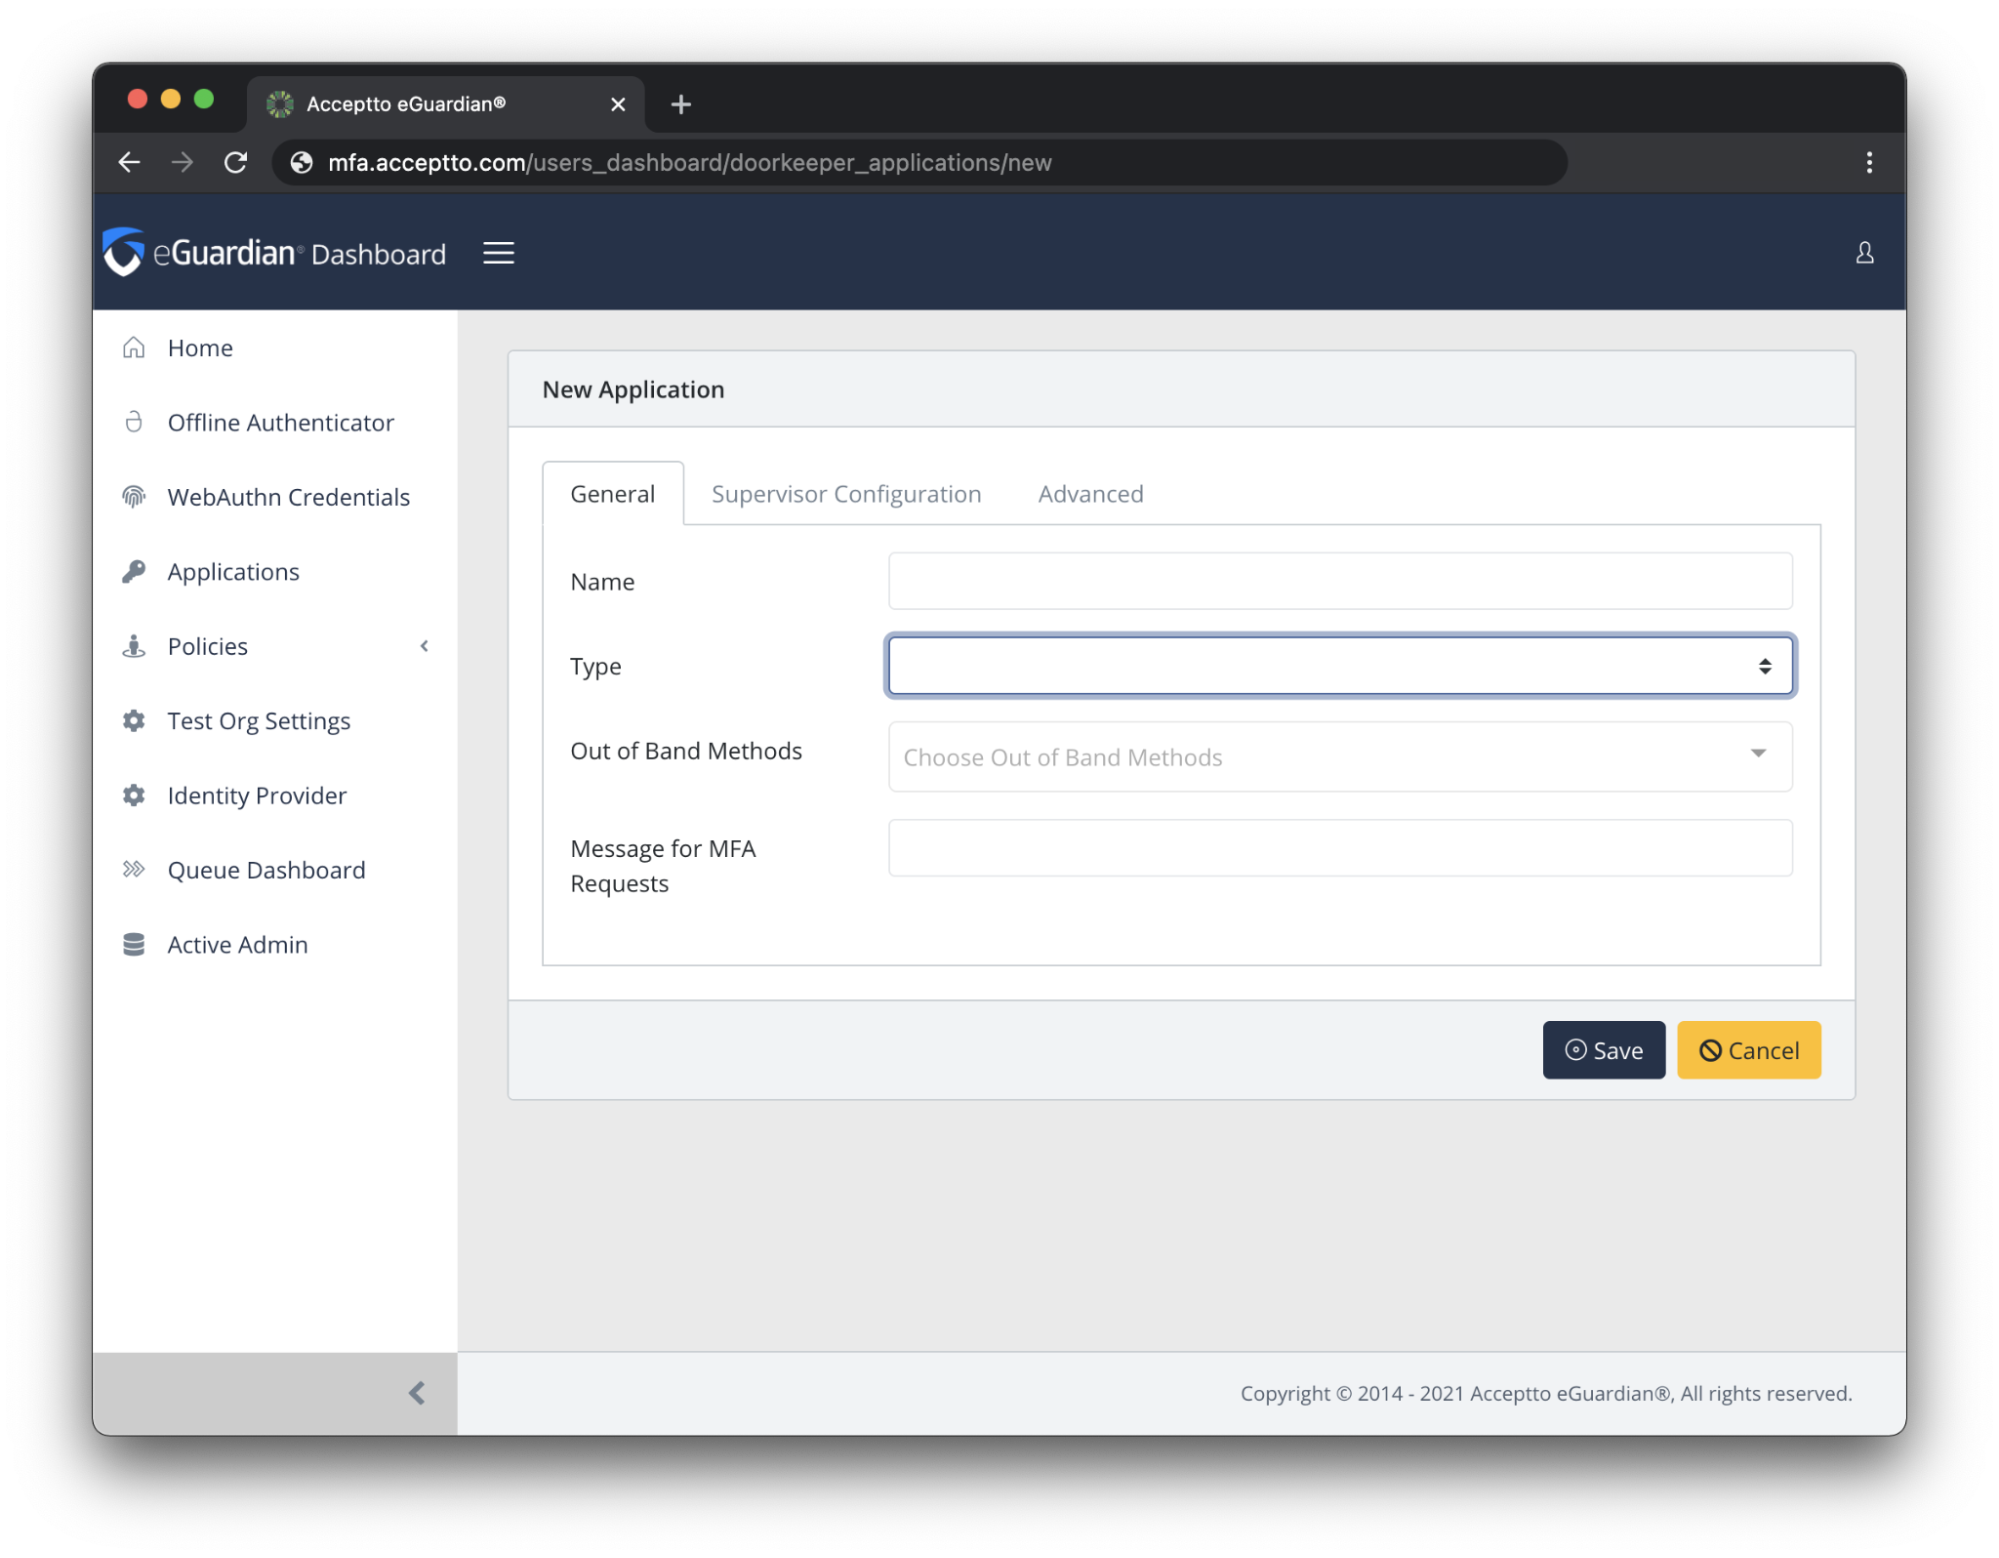
In the New Application form, enter the following values under the General tab:
- Name - The application name displayed in the admin panel and application portal and used for push notifications and audit logs (e.g. Office 365)
- Type - Select "SAML Service Provider" from the options
- Out of Band Methods - Select the allowed methods for approving MFA requests
- Message for MFA Requests - Enter the user-facing message for Push, SMS, and e-mail MFA requests (optional)
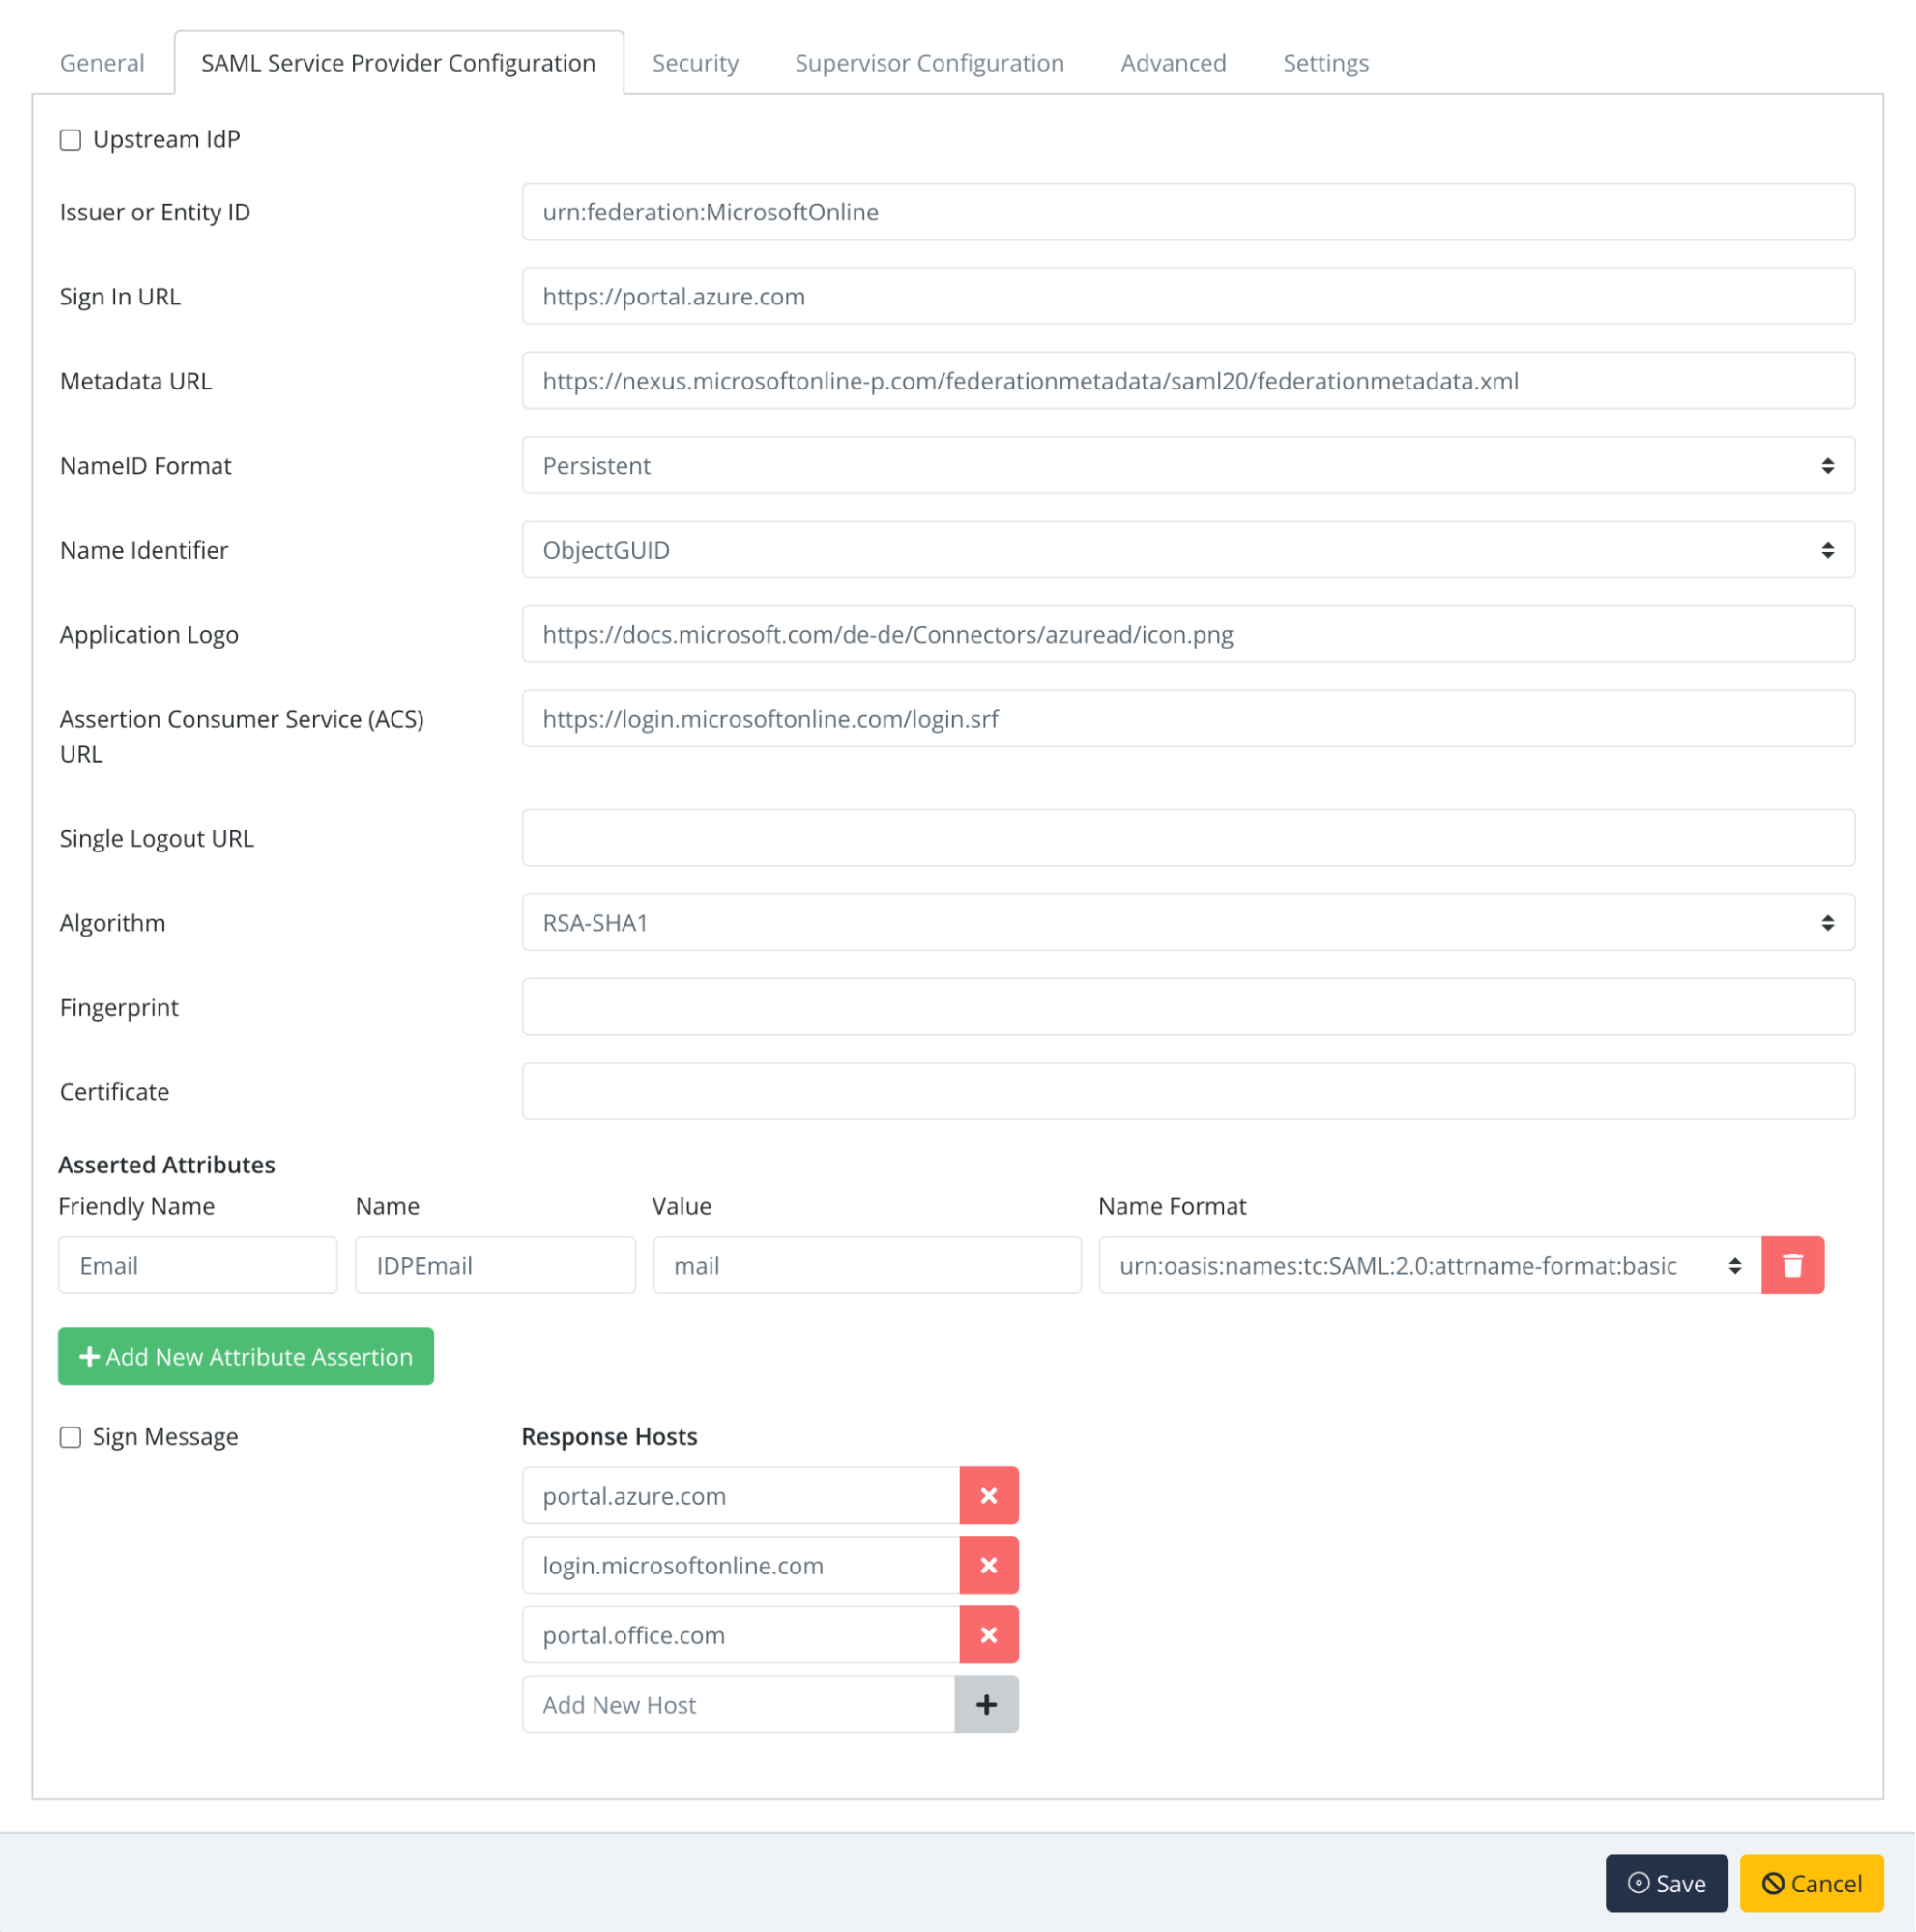
Under the SAML Service Provider Configuration tab, enter the following values (Click on the Microsoft federation metadata url and find the required attributes).
Issuer or Entity ID – Enter the Microsoft Issuer: "urn:federation:MicrosoftOnline"
Sign in URL - The URL used to login to Azure or Office 365 portals. You can use
https://portal.azure.com,https://portal.office.com, orhttps://login.microsoftonline.com/login.srf.Metadata URL - The Microsoft metadata URL:
https://nexus.microsoftonline-p.com/federationmetadata/saml20/federationmetadata.xmlACS URL - Enter the Microsoft ACS URL:
https://login.microsoftonline.com/login.srfNameID Format - Select "Persistent" from the dropdown menu
Name Identifier - Select "ObjectGUID" from the dropdown menu
Asserted Attributes
- Friendly Name - Enter "Email"
- Name - Enter "IDPEmail"
- Value - Enter the name used for the email attribute in your user directory (e.g., "mail")
- Name Format - Select "urn:oasis:names:tc:SAML:2.0:attrname-format:basic" from the dropdown menu.
Response Hosts - add “portal.azure.com”, “portal.office.com” and “login.microsoftonline.com”.
Click Save to create the Application.
Download your SAML IdP X509 certificate. Go to the following website to download the cert.pem file containing your certificate:
http://sso.acceptto.com/[organization identifier]/saml/download/certNote: Azure AD requires the certificate in string format. Before you use this certificate, open the file in a text editor and edit the certificate by removing the line breaks and the begin/end certificate directives in such a way to have it as a single line string format (this web utility can do this automatically).
Configure Office 365 as a Service Provider (SP)#
Run PowerShell as an administrator and connect to your Azure instance with the command below. You need to login with your Azure tenant administrator account. Note: this admin account should be in a separate domain than the one that will be federated (e.g. a member of the default domain that is provided by Microsoft).
Connect-MsolServiceRetrieve all domains for the company (verified or unverified) to identify the domain should be federated.
Get-MsolDomainRun the following script in a PowerShell environment (most of the values come from the earlier section “Configure the Acceptto Identity Provider”, update these values where necessary):
# The domain you want to authenticate against SAML(mandatory)$domain="example.com"# Identify who your IdP is$BrandName = "Acceptto SAML IDP"# Logon URL (mandatory)$LogOnUrl = "https://sso.acceptto.com/[organization identifier]/saml/auth"# Logoff URL (mandatory)$LogOffUrl = "https://sso.acceptto.com/[organization identifier]/saml/logout"# The IdP Certificate. Note the use of @ to make it a raw text variable.$SigningCert = "Copy your Acceptto Appliance SAML signing certificate got earlier in one single line, here"# The issuer URI. $uri = "https://sso.acceptto.com/[organization identifier]/saml"$Protocol = "SAMLP"After defining the parameters, issue the below command . A successful run of the command should not return any errors.
Set-MsolDomainAuthentication -DomainName $domain -FederationBrandName $BrandName -Authentication federated -PassiveLogOnUri $LogOnUrl -SigningCertificate $SigningCert -IssuerUri $uri -LogOffUri $LogOffUrl -PreferredAuthenticationProtocol $ProtocolTo verify if the domain is configured to use SAML, use the following command:
Get-MsolDomainFederationSettings -domainname example.com | fl *The output should be similar to the following and must show the same values as used in the script variables above.
ExtensionData : System.Runtime.Serialization.ExtensionDataObjectActiveLogOnUri :DefaultInteractiveAuthenticationMethod :FederationBrandName : acceptto.comIssuerUri : https://sso.acceptto.com/org-id/samlLogOffUri : https://sso.acceptto.com/org-id/saml/logoutMetadataExchangeUri :NextSigningCertificate :OpenIdConnectDiscoveryEndpoint :PassiveLogOnUri : https://sso.acceptto.com/org-id/saml/authPasswordChangeUri :PasswordResetUri :PreferredAuthenticationProtocol : SamlpPromptLoginBehavior :SigningCertificate : MII 79701424009245946274090644119698913542736738414383197137136495653488597823440743026907540474162173229890086677980241691766203566484177525691391892547529556572165857639252331212281503088199745189921112D=SigningCertificateUpdateStatus :SupportsMfa :
Test your setup#
Go to the Azure or Office 365 portals. You will be redirected to the Acceptto SAML page.
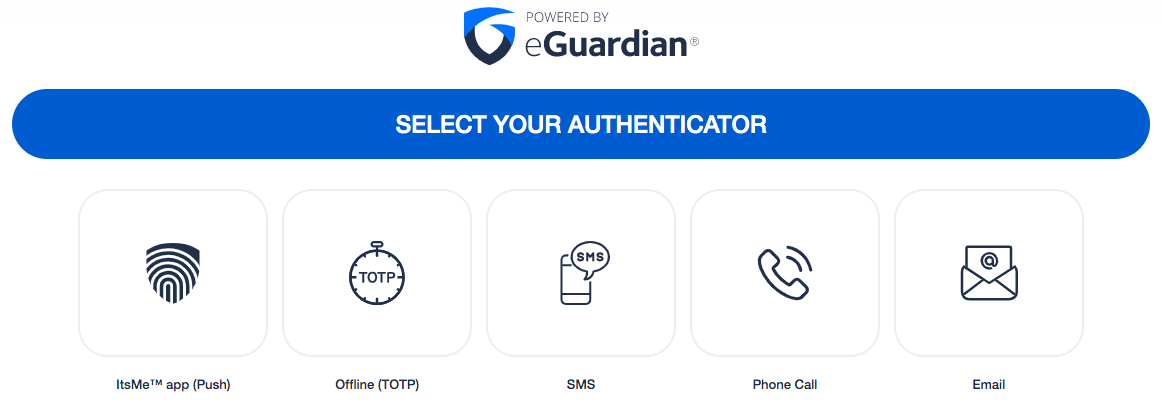
After successful authentication, you’ll see the Acceptto’s authenticator options. Select the desired method and approve the verification stage.
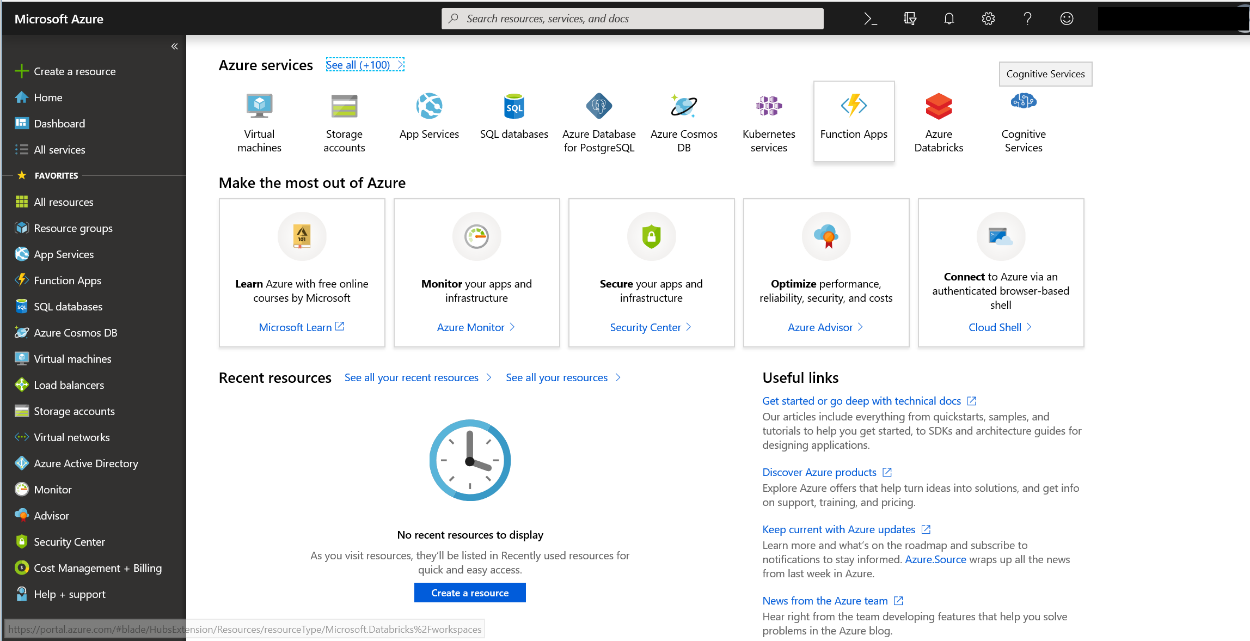
Finally, you will be redirected to your Azure/Office 365 landing page.
Troubleshooting#
If you may receive an error page. It might take different forms:
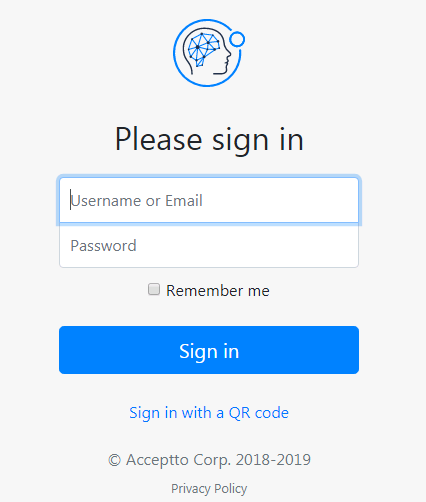
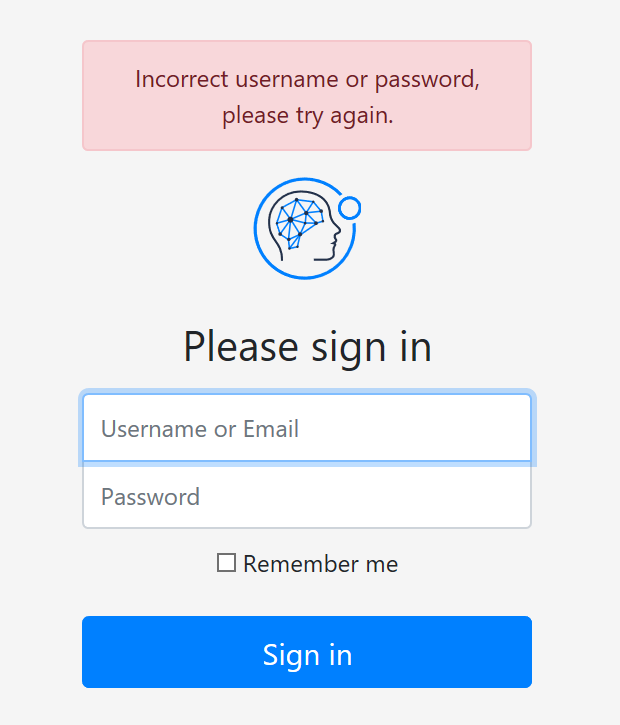
a. If you receive an Acceptto branded web page such as below, then check if your username and password are correct. If after checking your credentials, it still fails to log you in, please contact our support.
b. If you receive an Azure branded error web page such as below, check that the script you run exactly matches the values you obtained from the Acceptto IdP. Correct any discrepancies and rerun the script.
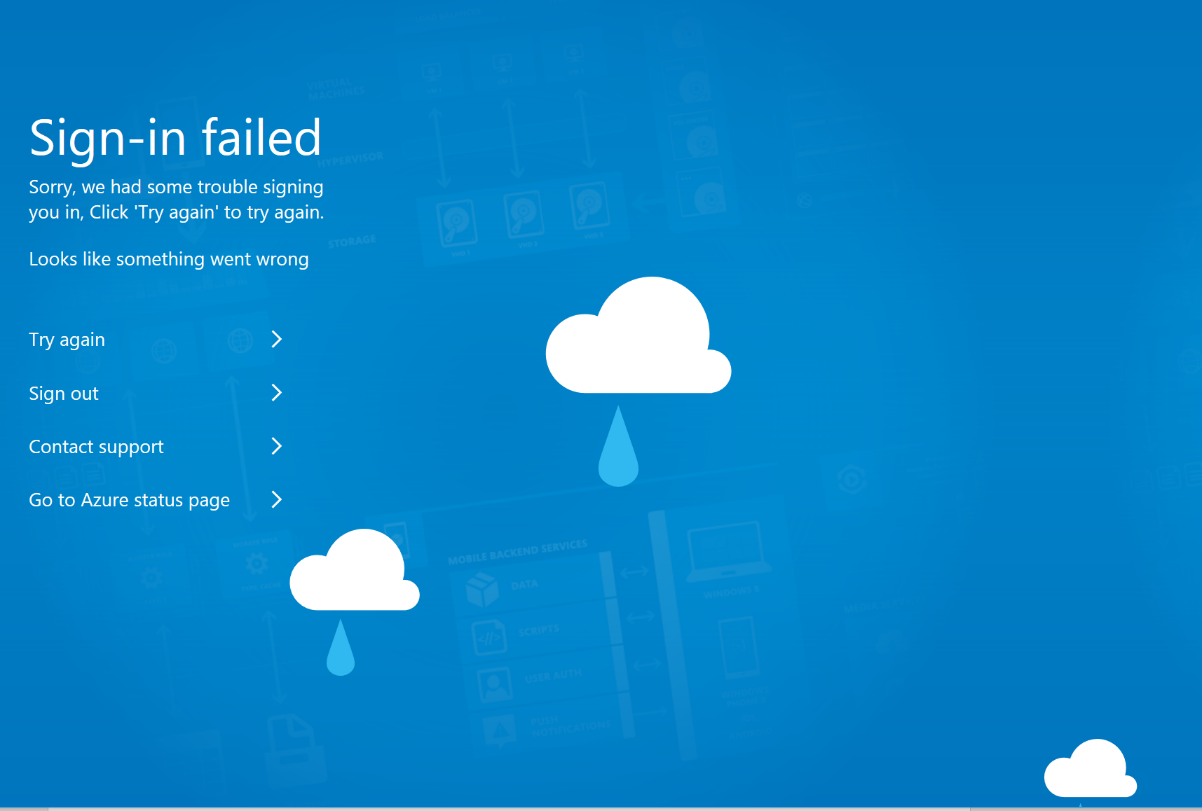
c. If an Azure branded error web page still appears, then you can revert the domain to a managed domain. To do this, open a Powershell console, login to Azure as the managed domain user and type the following command. If the command is successful, there will be no output.
Set-MsolDomainAuthentication -DomainName example.com -Authentication “managed”
Support#
If you require assistance, please email us at support@acceptto.com
Sales#
Want to learn more about our MFA solutions? Contact our Professional Services for a Demo today.
Disclaimer#
All product names, trademarks, and registered trademarks are the property of their respective owners.
All company, product, and service names used in this document are for identification purposes only. The use of these names, trademarks, and brands do not constitute an endorsement by the Acceptto Corporation.
Azure, PowerShell, Microsoft, and 'Active Directory' are either registered trademarks or trademarks of Microsoft and/or one or more of its subsidiaries in the United States and/or other countries.