VMWare Horizon and UAG
Introduction#
Multi-factor authentication (MFA) is an extra layer of security used when logging into websites or apps to authenticate users through more than one required security and validation procedure that only they know or have access to. Security Assertion Markup Language (SAML) is a protocol for authenticating to web applications. SAML allows federated apps and organizations to communicate and trust one another’s users.
VMware Horizon enables IT departments to run virtual machine (VM) desktops and applications in the data center or cloud and remotely deliver these desktops and applications to employees as a managed service. In a normal mode, the Unified Access Gateway (UAG) is an appliance used to ensure incoming traffic comes from a strongly authenticated remote user. Unified Access Gateway directs authentication users to the appropriate server and only to desktop and application resources to which the user is actually entitled.
Acceptto, as a SAML provider, improves the user login experience for Horizon users with convenient MFA. This manual illustrates how to configure both VMware Horizon and UAG with Acceptto’s single sign-on solution. Acceptto’s solution for VMware Horizon and UAG eliminates the second logon on the Horizon Agent machine using True SSO, which generates certificates for each user and then uses those certificates to automatically sign into the Horizon Agent machine.
Pre-Requisites#
To integrate Acceptto SSO with Unified Access Gateway (UAG) and enable single sign-on, you must have the following components and prerequisites in your environment:
- An Acceptto account with a configured Identity Provider and LDAP Agent (See this page for instructions).
- A user with administrative privileges for the Acceptto service.
- An organization identifier provided by Acceptto (organization slug).
- A configured Certificate Authority server.
- A configured VMware Horizon Enrollment server which has a trust relationship with Horizon Connection server
- A user with administrative privileges for VMware Connection server and UAG.
Acceptto SAML Configuration as Identity Provider (IdP)#
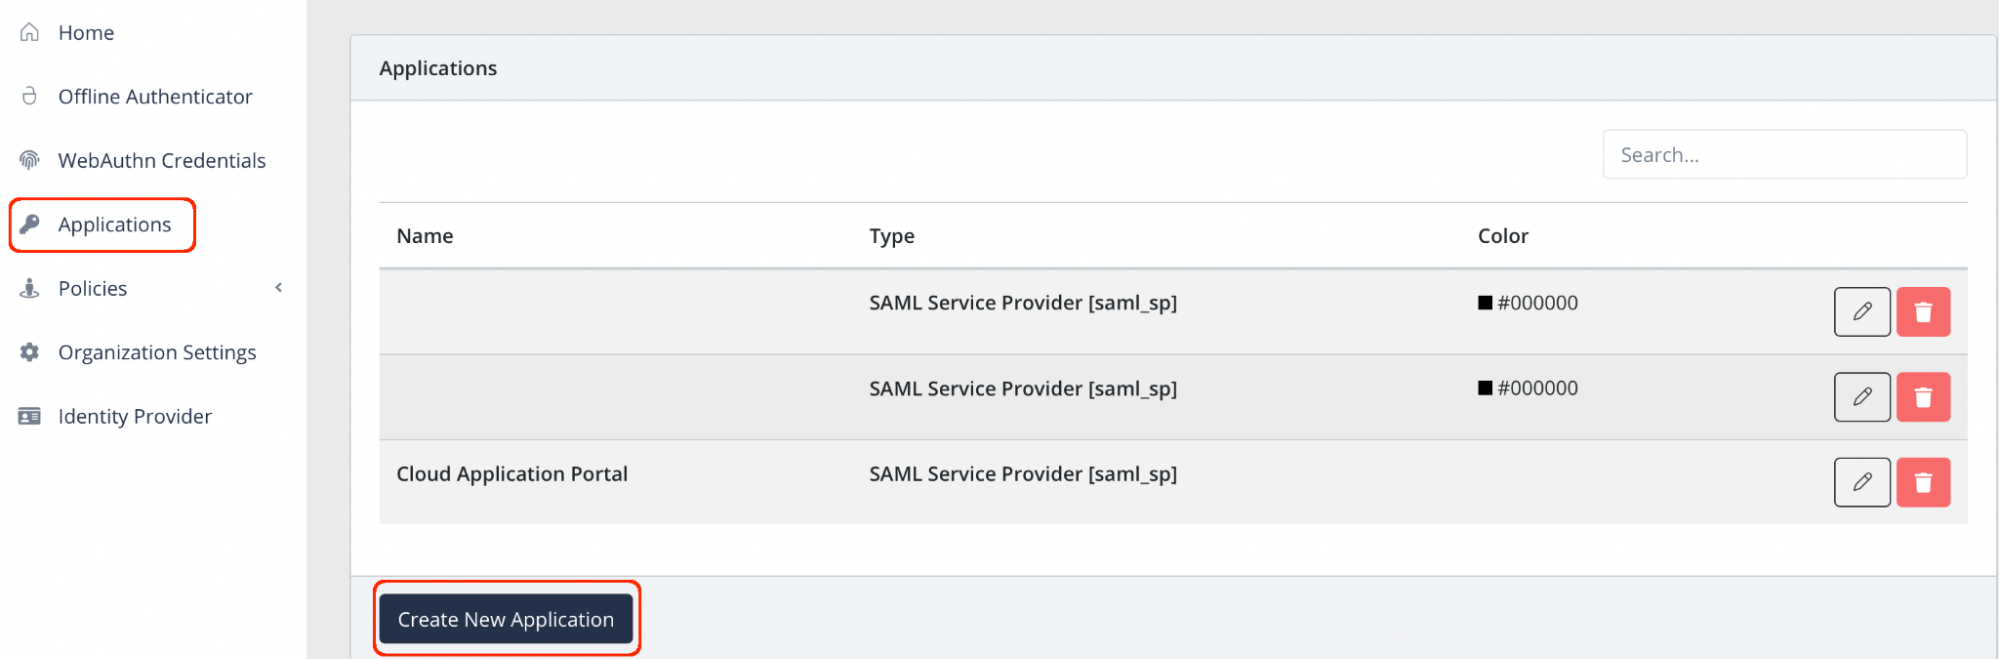
Login to the Acceptto Dashboard with an administrative account and go to Applications.
Create a new application by selecting the Create New Application.
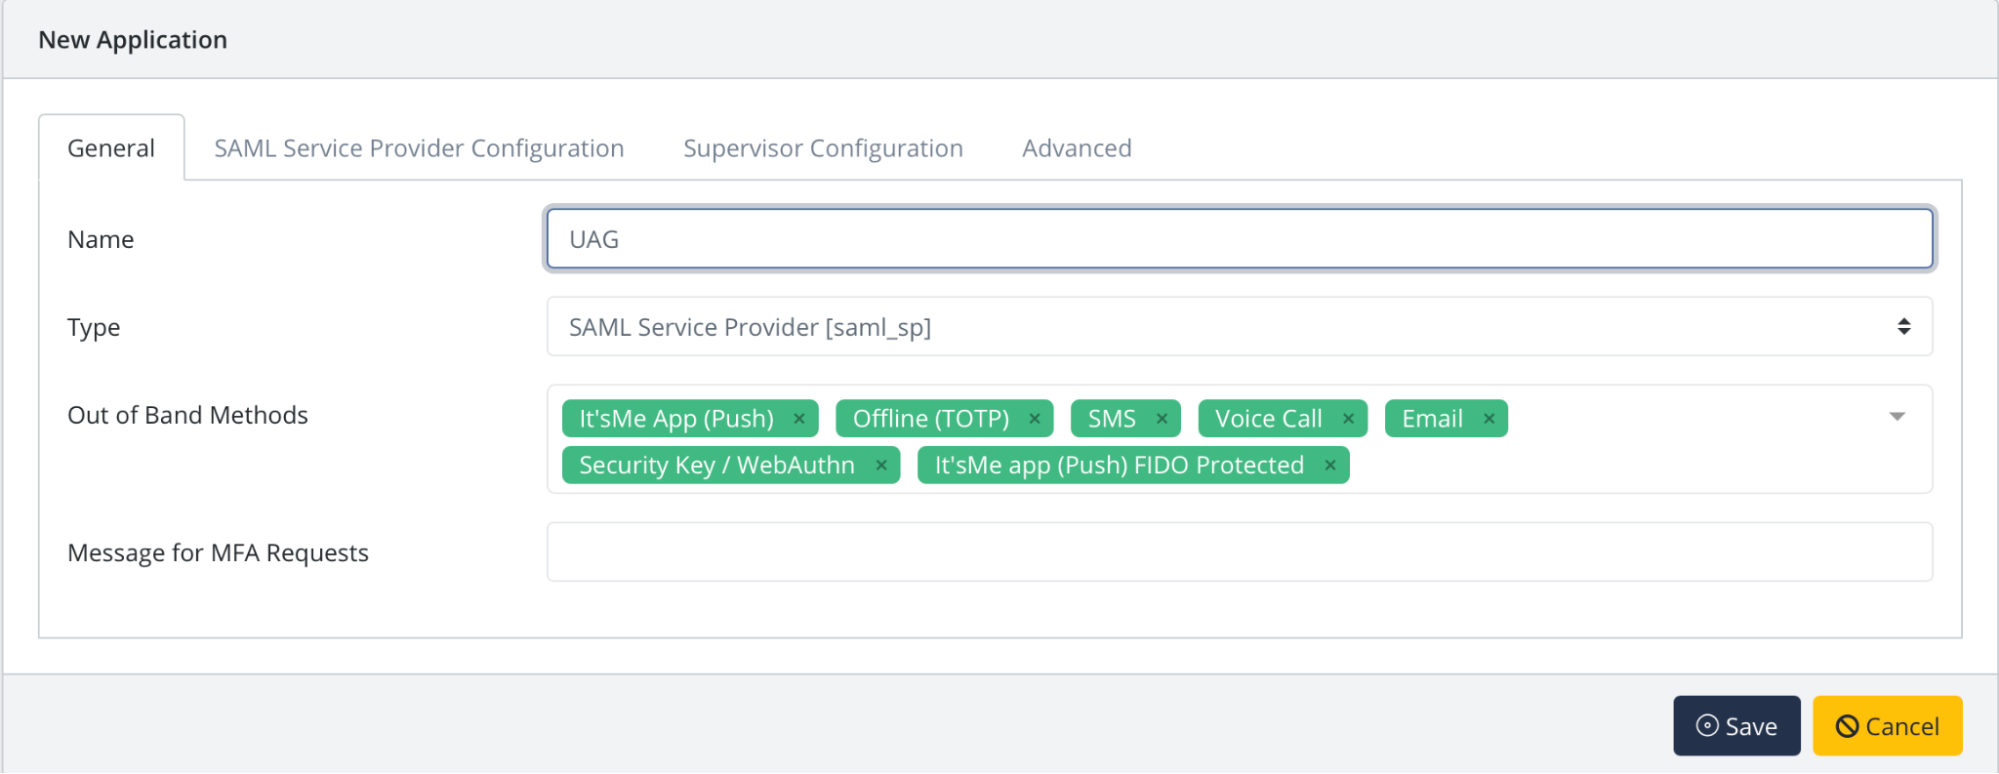
In the New Application form, enter the following values under the General tab.
- Name - The application name displayed in the admin panel and application portal and used for push notifications and audit logs. (e.g. UAG)
- Type - Select "SAML Service Provider" from the options
- Out of Band Methods - Select the allowed methods for approving MFA requests
- Message for MFA Requests - Enter the user-facing message for Push, SMS, and e-mail MFA requests (optional)
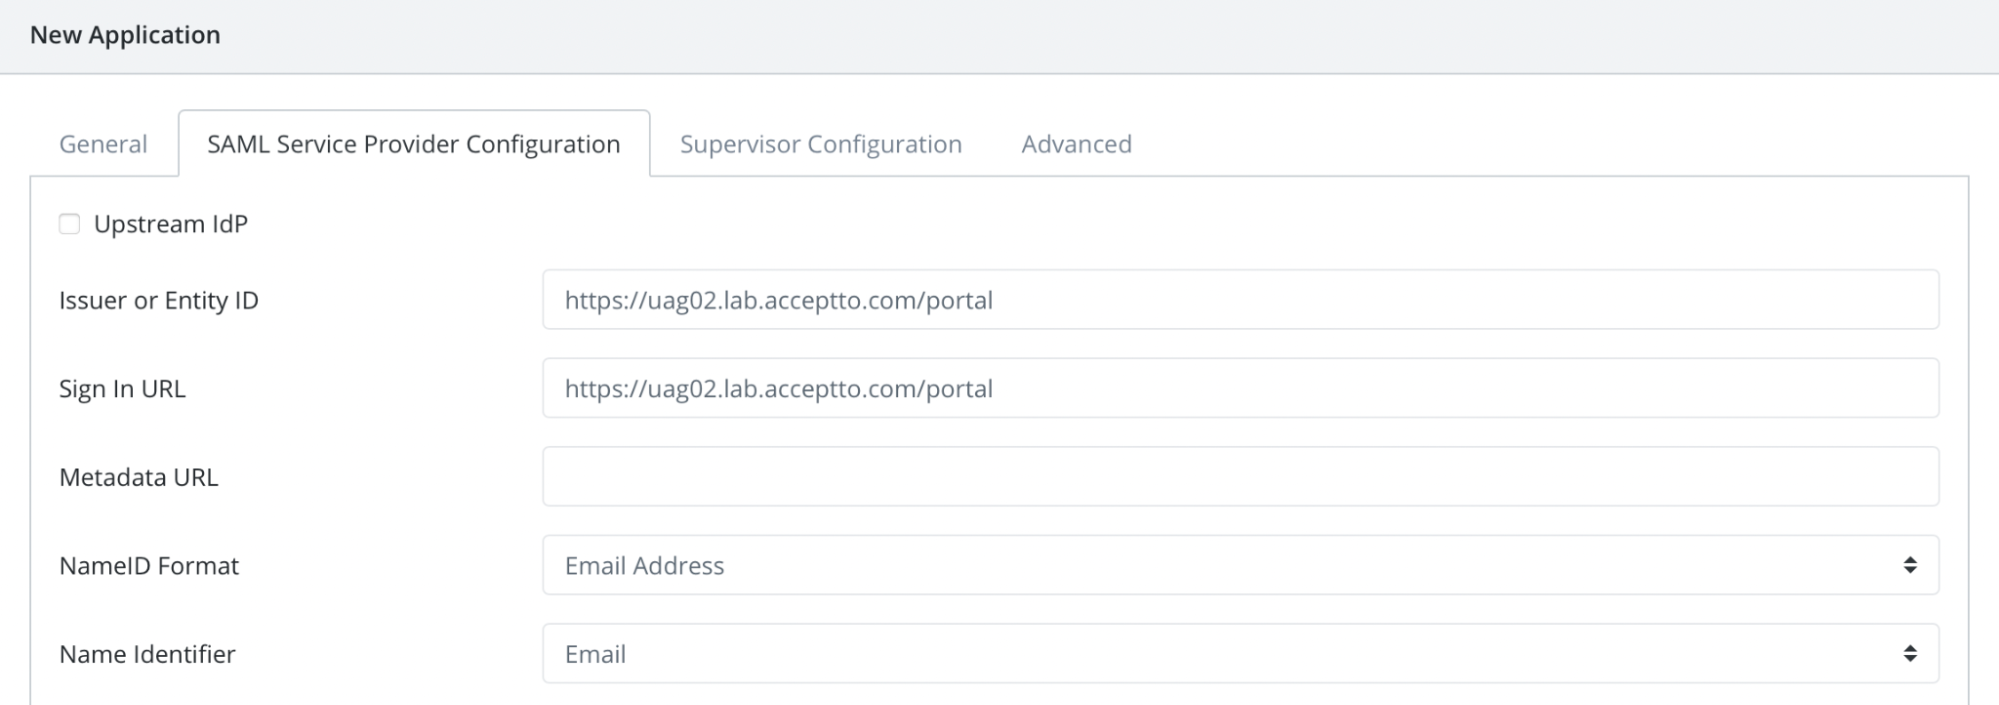
Under the SAML Service Provider Configuration tab, enter the following values:
- Issuer or Entity ID – Enter the Issuer/EntityID of your UAG instance (e.g.
https://HORIZON_UAG_FQDN /portal). - Sign in URL - The URL used to login to your UAG (e.g.
https://HORIZON_UAG_FQDN /portal). - NameID Format - Select "Email Address" from the dropdown menu
- Name Identifier - Select "Email" from the dropdown menu
- Issuer or Entity ID – Enter the Issuer/EntityID of your UAG instance (e.g.
Click Save to create the Application.
Download your SAML IdP X509 certificate. Go to
https://sso.acceptto.com/[organization identifier]/saml/download/certto download the cert.pem file containing your certificate.Download your SAML metadata file. Go to
https://sso.acceptto.com/[organization identifier]/saml/download/metadatato download your metadata file.
Configure UAG as a SAML service provider#
Login to your UAG admin page at
https://<HORIZON_UAG_FQDN>:9443/adminwith an admin account.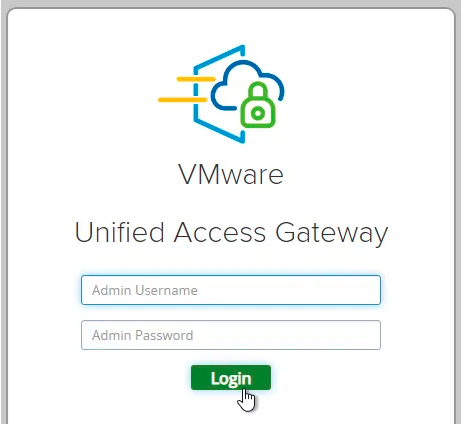
Select Configure Manually.
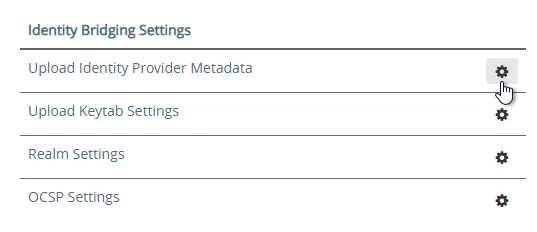
Scroll down to the section named Identity Bridging Settings and click Upload Identity Provider Metadata.
Click Select in the IDP Metadata row.
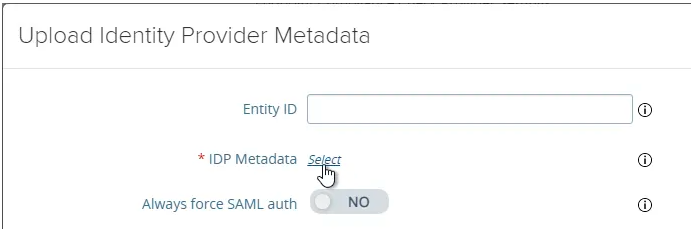
Navigate to the xml metadata file you downloaded earlier from Acceptto admin panel. Click Save.
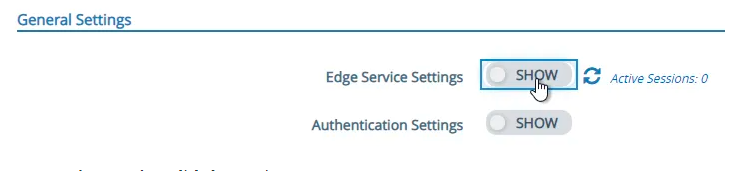
At the top of the page, next to Edge Service Settings, click SHOW.
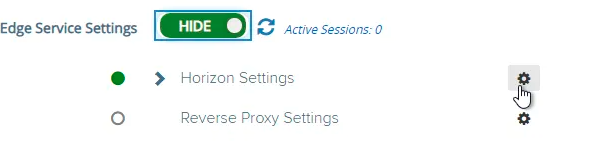
Next to Horizon Settings, click the gear icon.
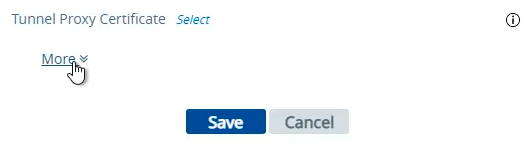
At the bottom of the page, click More.
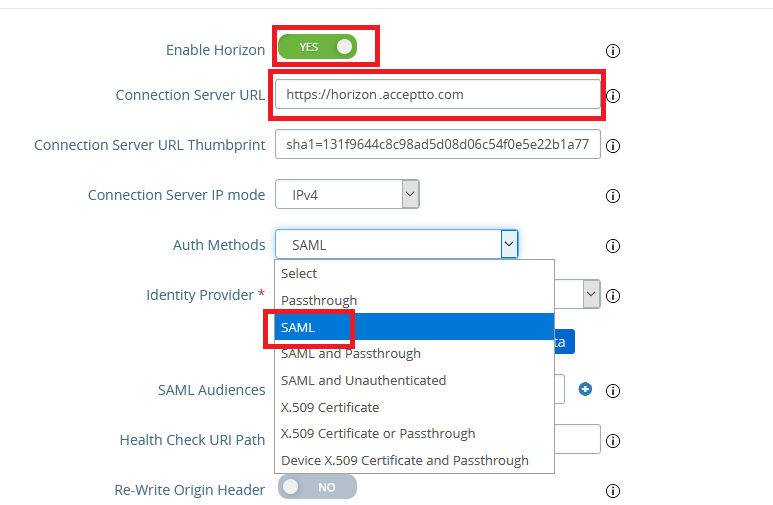
At the middle of the page, change the drop-down for Auth Methods to SAML.
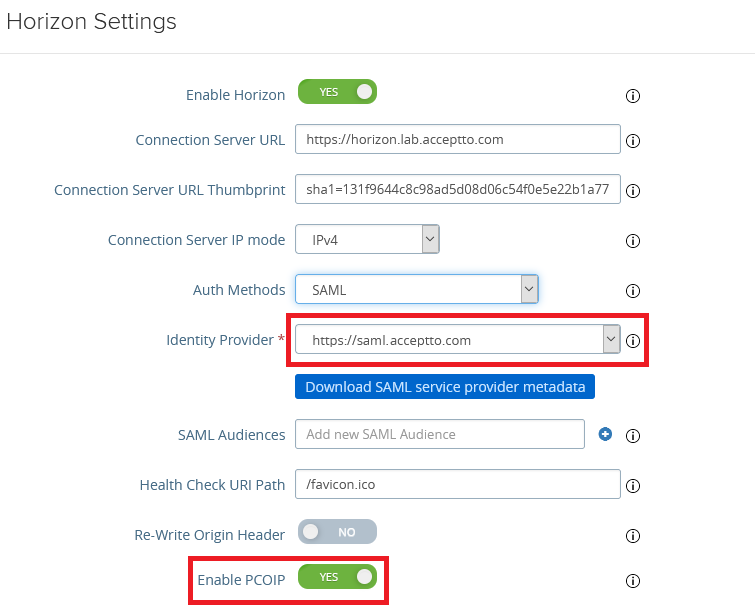
Change the drop-down for Identity Provider to the Acceptto. Then click “Download SAML service provider metadata” to download the file. We need this file to configure the Horizon Connection server.
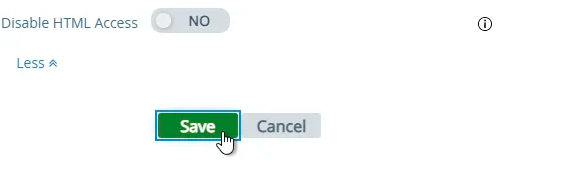
At the bottom of the page, click Save.
Configure Horizon Connection Server#
Login to Horizon Console.
In the left menu, go to Settings > Servers.
On the right, click the tab named Connection Servers.
Highlight a Connection Server that UAG talks to and click Edit.
Switch to the tab named Authentication.

Change the drop-down for Delegation of Authentication to VMware Horizon (SAML 2.0 Authenticator) to Allowed.
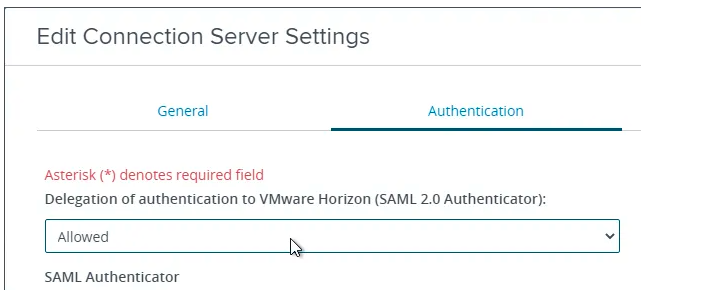
Click the button named Manage SAML Authenticators.

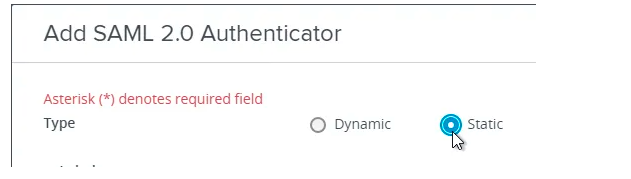
Click Add.

Change the selection for Type to Static. Dynamic seems to only be valid for VMware Access (aka Identity Manager).
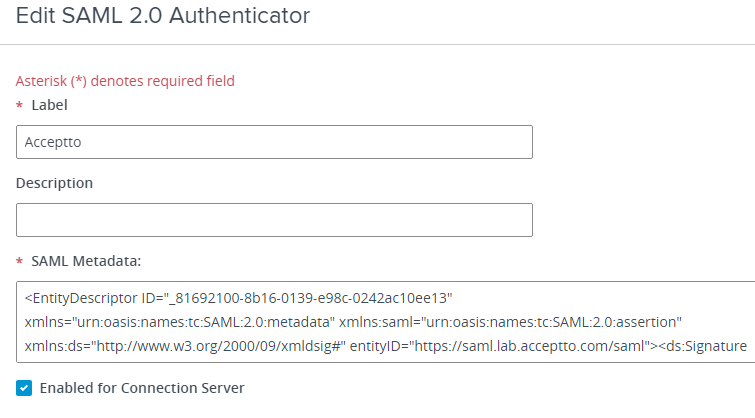
Open the metadata .xml file you just downloaded from UAG with a text editor and copy its contents to your clipboard. Then, go back to the Horizon Console and paste in the SAML Metadata field.
Give your SAML 2.0 Authenticator a name in the Label field and click OK.
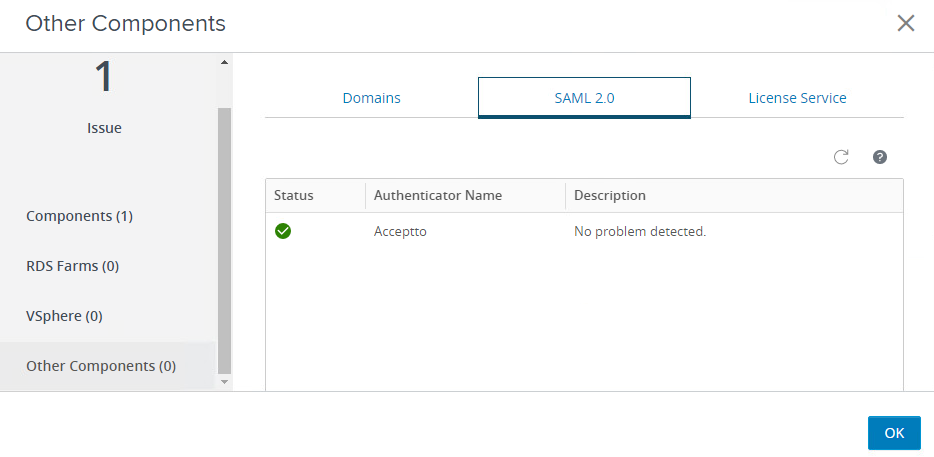
In Horizon Console, go to the Monitor > Dashboard and then click VIEW in the System Health section. On the left, select Other Components. On the right go to the tab named SAML 2.0. You should see your SAML Authenticator’s name and status.
Enable True SSO on Horizon Connection Server#
Open an elevated Command Prompt on the Connection Server and run the below commands. Note that the commands in this section have case sensitive parameter names.
Run the following command to add Enrollment Server. (Change the colored text to the required values)
vdmUtil --authAs admin-role-username --authDomain domain-name --authPassword admin-user-password --truesso --environment --add --enrollmentServer enroll-server1-fqdn
Run the following command to see the available certificate authorities and certificate templates for a particular domain.
vdmUtil --authAs admin-role-username --authDomain domain-name --authPassword admin-user-password --truesso --environment --list --enrollmentServer enroll-server-fqdn --domain domain-fqdn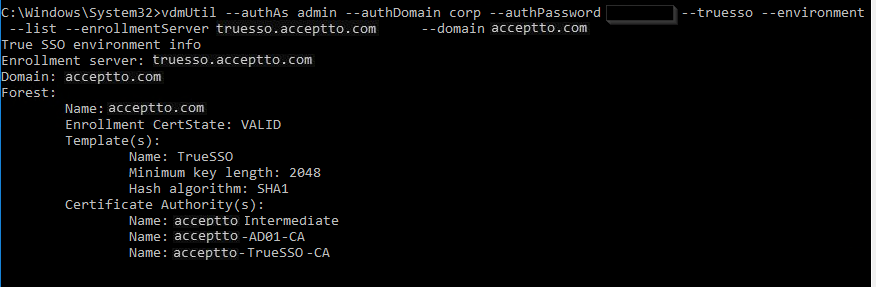
Run the following command to enable the Enrollment Servers for a particular domain.
vdmUtil --authAs admin-role-username --authDomain domain-name --authPassword admin-user-password --truesso --create --connector --domain domain-fqdn --template TrueSSO-template-name --primaryEnrollmentServer enroll-server-fqdn --certificateServer ca1-common-name1 --mode enabled
Run the following command to see the SAML Authenticators configured in Horizon Console.
vdmUtil --authAs admin-role-username --authDomain domain-name --authPassword admin-user-password --truesso --list --authenticator
Run the following command to enable True SSO for a particular SAML Authenticator.
vdmUtil --authAs admin-role-username --authDomain domain-name --authPassword admin-user-password --truesso --authenticator --edit --name authenticator-fqdn --truessoMode {ENABLED|ALWAYS}
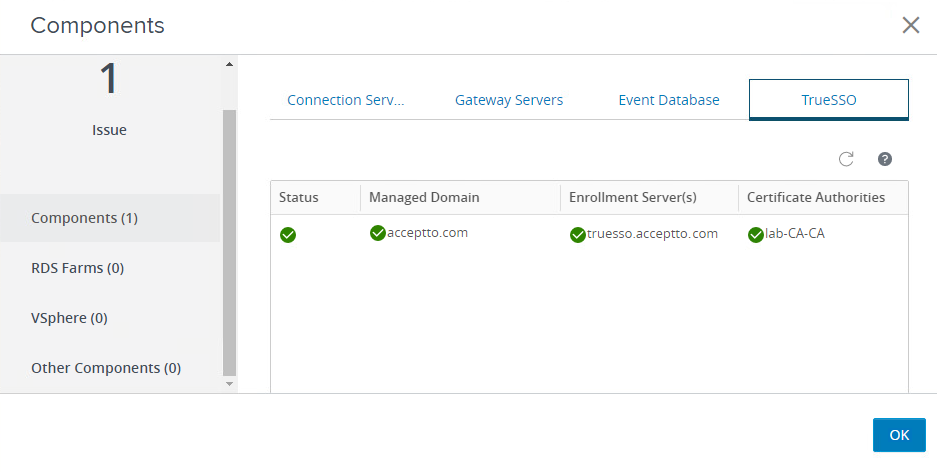
In Horizon Connection Console, go to Monitor > Dashboard and on the right, in the System Health section, click VIEW. With Components selected on the left, go to the TrueSSO tab. Here, you can view the status of True SSO in Horizon Console.
Test Your Setup#
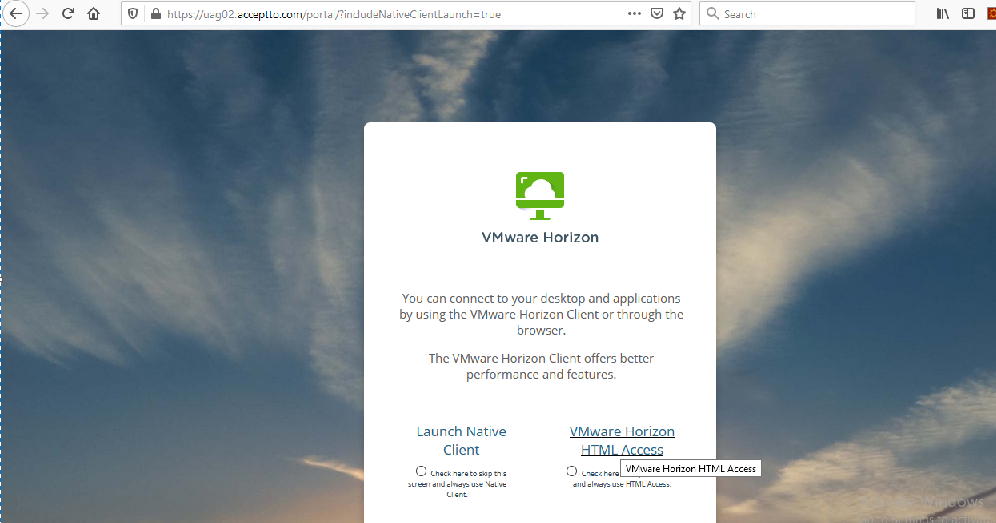
Go to your UAG URL through a browser or VMWare Horizon client.
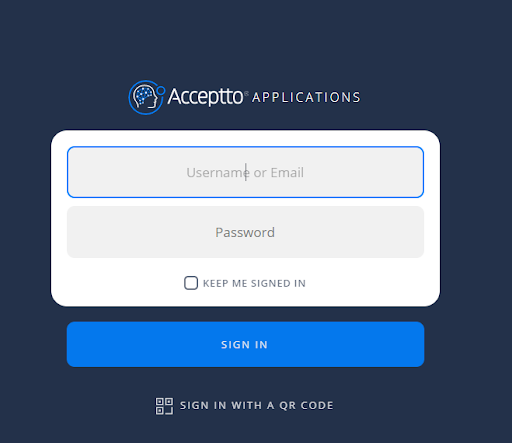
You will be redirected to the Acceptto SSO page.
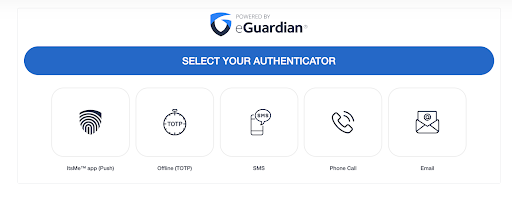
After successful authentication, you’ll see the Acceptto MFA options. Select your desired method. Next, pass the verification stage on your It'sMe mobile app.
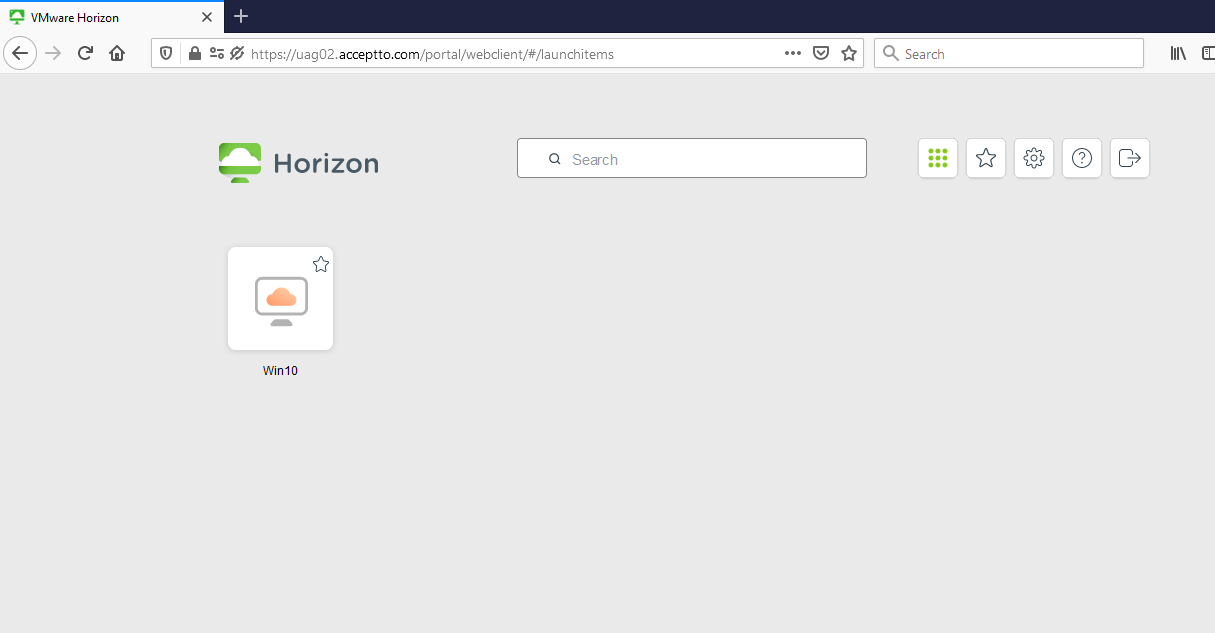
Finally, you will be redirected to your resource page. Click on Windows icon.
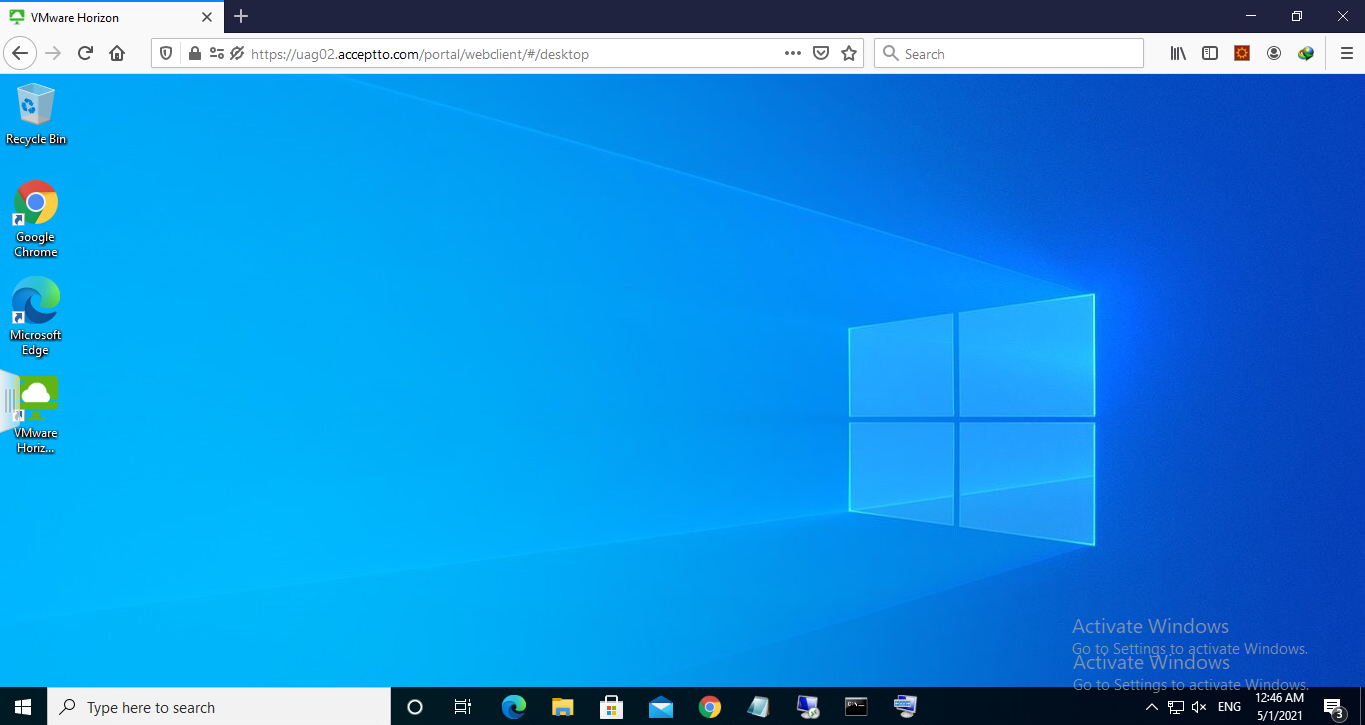
You will be automatically logged into your Windows machine without any excess authentication through an integration between Acceptto SSO and VMWare TrueSSO.
Support#
If you require assistance, please email us at support@acceptto.com
Sales#
Want to learn more about our MFA solutions? Contact our Professional Services for a Demo today.
Disclaimer#
All company, product and service names used in this document are for identification purposes only. Use of these names, trademarks, and brands does not constitute an endorsement by the Acceptto Corporation.